Showing posts with label I'm a wanna-be designer. Show all posts

Tuesday, January 12, 2016

Transformation Tuesday

There are few things quite so wonderful as starting off the year with a transformation.

Now, here's the thing: we didn't actually do this transformation this year.

Or... last year.

There are a number of things on the renovation front I've been meaning to share and simply haven't had the time to do it.  I'm excited to finally show you this room today, because it is probably my favorite.  It may even be the most dramatic transformation we've completed so far.

This particular transformation dates all the way back to 2014, when we were still a family of four. The soon-to-be middle child needed to come out of the nursery to make way for a new addition, and we were ready to have a real kids room.  But to really appreciate just how far this room has come, we have to take it all the way back to where we started in the fall of 2012:


Oooofta.  There it is.  The original "before" in all its glory.  We did some updating, painting and carpeting when we first moved in, eventually replacing and upgrading the windows.


Things got better, but it was never really the room I dreamed it could be.


Then, with Olivia taking over the nursery, we knew that we wanted Logan and Leah to move in together for the foreseeable future.  While we were at it, we knew that it was time to makeover the space that had always settled for just okay into a truly wonderful place to be.

Welcome to the new (yes, it still counts!) and improved kids' room:


Since we were combining our girl and boy, together in a shared space, there were a couple of things that were important in planning the design.

  1. It had to be gender neutral, with hints of boy and girl but not too heavy on either side.
  2. When they moved in, they were only 4.5 and 2 so we didn't want the room to be too grown up.
  3. At the same time, we also wanted to steer clear of anything that felt overly theme-y or would be outgrown by either one faster than a pair of shoes. 


I absolutely love way this space turned out.  I think we succeeded in hitting a sweet spot that addresses all three issues.


The walls have been unified and lightened so that everything feels bright and airy, and so much bigger!  We went with accents of pink and blue - the respective favorite colors of Leah and Logan - wood and metal tones, and a healthy dose of white.


Floating shelves on either side of the bay window house their vast collection of books and create two cozy little reading nooks.


The vintage, slightly industrial look I was going for was emphasized by the lighting, and my lovely husband had the brilliant idea to run it with metal piping across the window itself. It's a detail I was skeptical about at first but have come to really love.  I'm so glad he convinced me to take the plunge!


My very favorite part by far, though, has to be this amazing planked wall.


It makes such a lovely statement, but subtly so.  It's the kind of thing that you enjoy without really noticing why it is so pleasant.


We added the dual L's and an ampersand marquis in galvanized metal, and the arrow marquis below to tie in and lend a little vintage-inspired charm.


Trying to select art was a bit of a challenge.  I had already purchased a few more "girly" items before we decided to move the kids in together.  I loved them and hated to see them go to waste.  After we painted white picture frames to match the rest of the room, and added a few items that balance and bring in more of that "boy" presence, the display works perfectly for my two little ones.  


That big space in the middle used to house a piece of art they collaborated on... but the darn frame keeps falling down.  So for now, it remains a big empty gap.  Oh well.  Life. 


A few other vintage-y, industrial(ish) details include this absolutely adorable alarm clock in bright red (of course!), 


and these apple crates that serve as toy boxes.  


Yeah, those happen to be some of my favorites.  

Each of my children got to select their own bedding so that they both have a sweet, cozy space that is all their own. 


Of course, some guidance may have been offered from this end in the form of limiting their choices so that it worked with the grand plan...

But they don't seem to mind, in the end.  

This shared space has been such a blessing for our family.  I know that it isn't a permanent solution, but it has been so much fun to watch those two enjoying this room and making memories together.  It makes the whole thing worth it.  And, as an added bonus, we have a room that is bright and charming, fit for girl and boy... just the look we were hoping for!

{Here is the original design board, and a bit of our progress back in real time along the way!}

Monday, March 31, 2014

Kids' room update and DIY window seat bench

Happy Monday, friends!

We are so excited to be able to give you a little glimpse of all the work we've been doing in the kids' room.  The nursery has to be cleared to make way for a new occupant at the end of the summer, and we decided that if they have to live together, the big ones will be forced to get along and love each other.  Seems like that's got to work, right?  

Leah's room was the very first one we actually took on when we moved into the house.  Sweet little Logan was one week old, Leah was only three or four months out of her crib.  {Yes, she was also two and a half.  What?  That kid loved her crib!}  It was a sweet little room, done with lots of love.  Perhaps a little rushed and a little premature, but as our first, we couldn't have anticipated how quickly she'd go from two to Big Kid.  
Notice the ultrasound photo?  All that stuff above her bed was stolen pretty much directly from the nursery.  Wow did she outgrow it quickly!


Now that we're moving Logan in, the goal is different: create a room that will grow with them and still be relevant in five years.  Although it's quite possible the occupants of the room will change over the years, we're trying to create a space that will be functional for kids (note: I didn't say babies or toddlers!  YIKES!)

So there's a few things happening.  The first - and by far most important - is this lovely paneling that has been installed by my wonderful husband.  


Isn't it fabulous?  


It has since received a fresh coat of white {and looks ah-ma-zing if I do say so myself}, and the entire room has gotten a new coat of paint.  New light fixtures, that absolutely awesome set of book shelves that I am so stinkin' excited about.  More photos of all of that are forthcoming (probably when we're a little further along on the whole being finished front), but today, we're excited to show you our latest DIY project.


LOVE IT!

We were lucky that we didn't have to build this little nook; it is one of my favorite features about the room even though it's pretty tiny (6' x 1' - perfect for little hinies even though mine kinda hangs over the edge).

Here's what we used:
:: 6' x 1' x 1" pine board
:: 4" foam pad (by far the most expensive part of this project, by the way.  Bring a coupon if you can)
:: 2.5 yards fabric

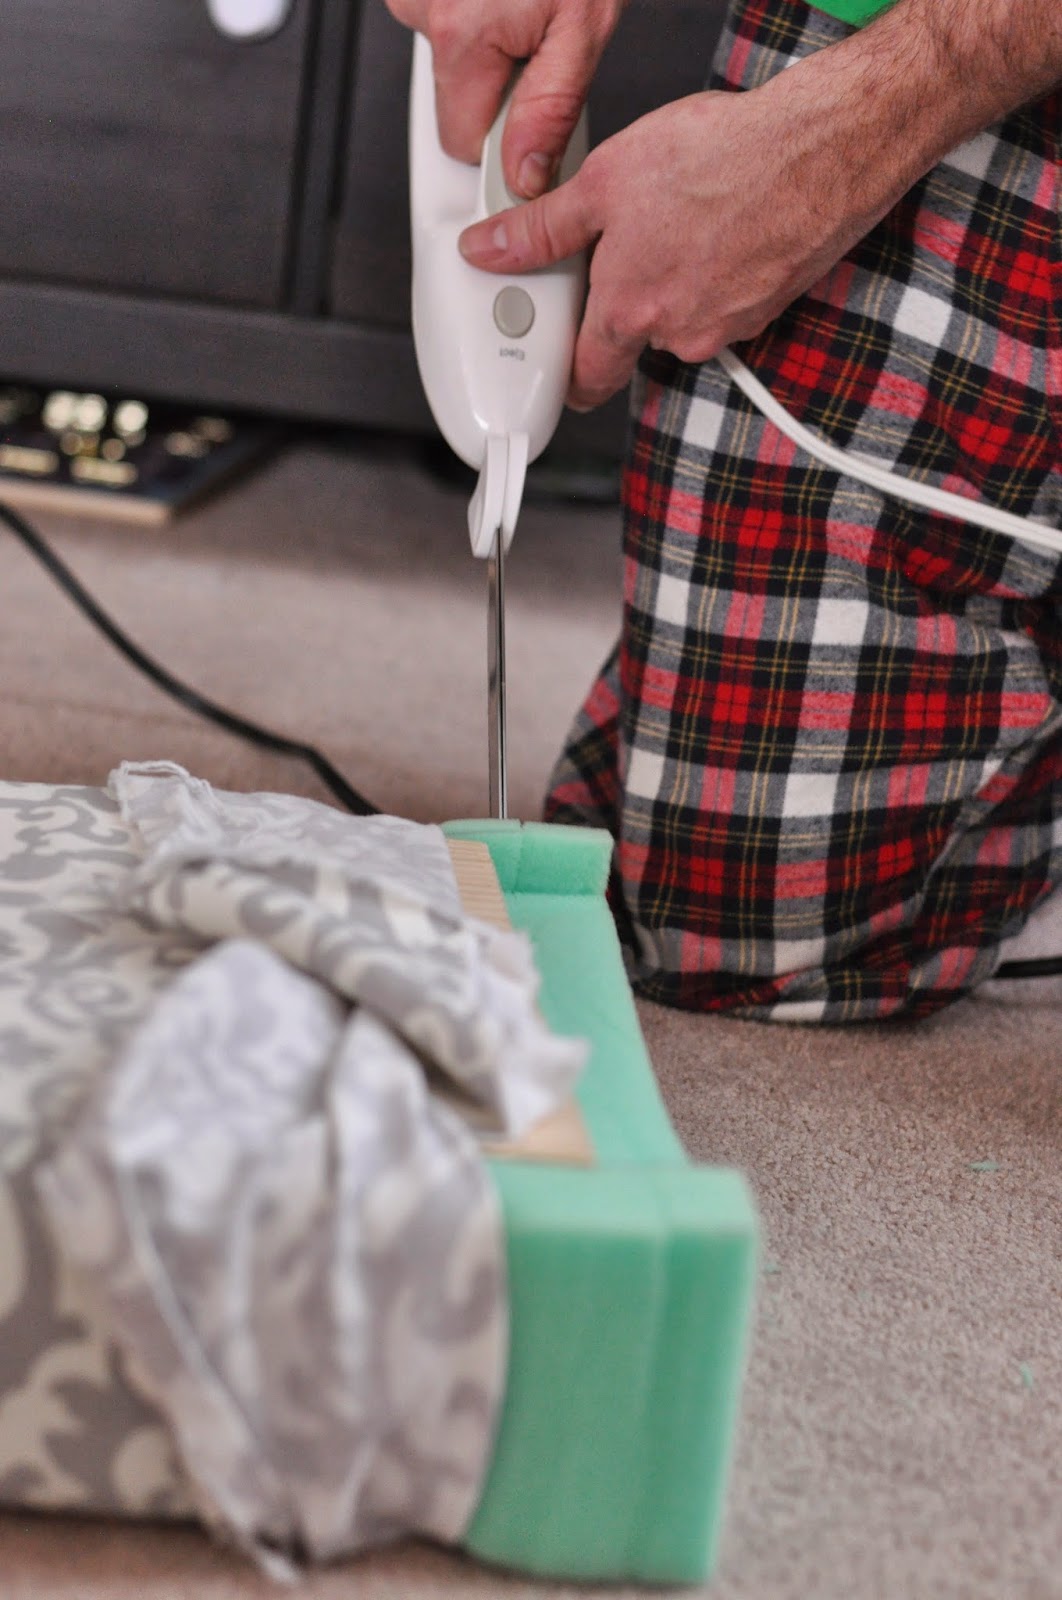
My plan was to simply put the board underneath the foam, but Casey had other plans.  He wasn't thrilled with the way the edges came together.  Instead, he carved out the center of the foam pad using our electric bread knife - which sounds crazy but worked like gangbusters - so that it fit snugly.


I'll leave it to your good judgement whether you're crazy enough willing to tackle that project.

We laid the fabric out smooth on the floor, which may or may not have taken a try or two, given all the help we get on our projects.  I've mentioned it before, but man do we have helpful children.  By the way, how much are you loving those chubby ankles?  I know what I'll be checking out all summer!


With the foam/board on top, we simply aligned the fabric so that it was straight.  Super easy to do if you have a pattern that repeats, not that easy if you're using stripes or chevron since it will show.


Once aligned, we simply used the electric stapler to secure the fabric to the board. 


It took a little bit of doing to ensure that the fabric was smooth on the front, but we pulled the fabric tightly, wrapped it around and secured it, again with staples.  


The foam was just a hair too long, so out came the handy bread knife again.  To secure the ends, we wrapped them literally like a present and stapled.  Yes, the underside is a total and complete mess...


...but it absolutely doesn't matter, since no one will see it!  As long as the front looks good, we're golden.  Casey also added L brackets to the back and sides to secure the bench to the wall.

So here we are.  Before:


After:

And let me tell you, those kids are loving it!


Because, really... who wouldn't?!


I'll admit it: I'm completely, beyond excited to get all the pieces in place and finish this re-model.  And that little guy up there?  He totally gets that this is going to be his room too, and he cannot wait.  He'd move in tomorrow, even if he had to sleep on the floor since the bunk beds aren't here yet.  


Alright, one more sneak peek, because I can't resist:


I know.  I can't wait, either.

Wednesday, February 5, 2014

Kids' room design board

Well, I suppose for the sake of documentation, I should note that my beloved Broncos went to the Super Bowl.  And, since we're on that documentation gig, they looosed.  Big.  But, they went, which is saying something. 

And, although the question came up about a million times, I can't say I buy the hype that an amazing season and his entire legacy was "tarnished" by this loss.  One of my favorite articles on why failure - his, ours, any - is not just part of life, but an important part, can be found here.  Go Broncos!

But, on to happier topics... it's that time again!  We'd be remiss if there wasn't something happening on the remodel front in our house.  

We haven't been completely lazy; in January, we (and by "we," I fully mean Casey) remodeled our downstairs powder room.  Pictures of that are forthcoming.  Probably.

And now, we're on to the kids' room.  We're hoping to move Leah and Logan in together by summer, which will give us enough time to do the nursery before the baby gets here.  I have to say, one of the biggest things I missed when I was pregnant with Logan was sitting around in a newly completed nursery, dreaming of the baby.  It sounds so superficial, but I spent hours sitting in our nursery with Leah, rocking in that fresh new rocking chair, rubbing my belly and daydreaming about our sweet baby to be.  It was utterly peaceful, and one of my absolute happiest memories of being pregnant.  There were so many worries with Logan, I had no idea where we'd be and whether he would even have a nursery. I am really looking forward to the process of designing a special space for this baby!

So, the first step on that path is to get our current occupant out of the nursery...

Without further ado, I give you the design board for the kids' room:

I put this together using Olioboard, which is a neat program, although admittedly I don't know how to use it perfectly.  It helps to begin to compile all those ideas together in one place.

I was probably most inspired by this image:

...which I love for more reasons than I can count.  The simple color scheme.  The texture on the wall.  Those absolutely fabulous lights.  The letters on the wall.  Though we'll definitely be changing things up to make it work for our family, and as a girl-boy room, I imagine you'll see a lot of these influences in the finished product.  

Some things it will have: 

1. Planked walls

We're thinking a single accent wall, against which the bunk beds will sit.  I'm really loving the simplicity of white right now - which is 180 degrees the opposite my usual taste - but there's no way I could have an entirely white room.  I need my color!

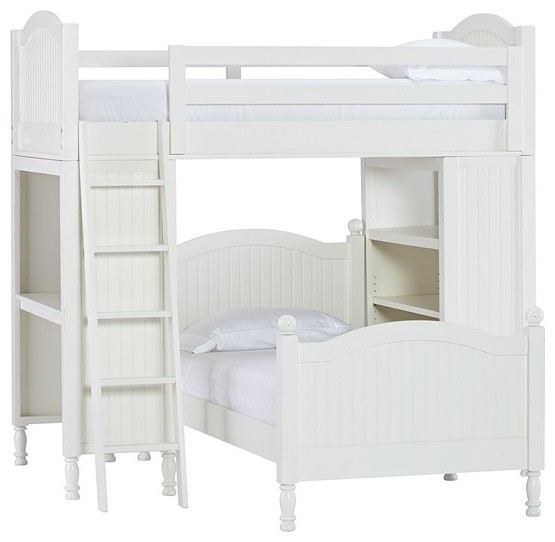
2. Bunk beds
Obviously.  I love this one in the hopes that it will be something that can grow with our kids for years to come.

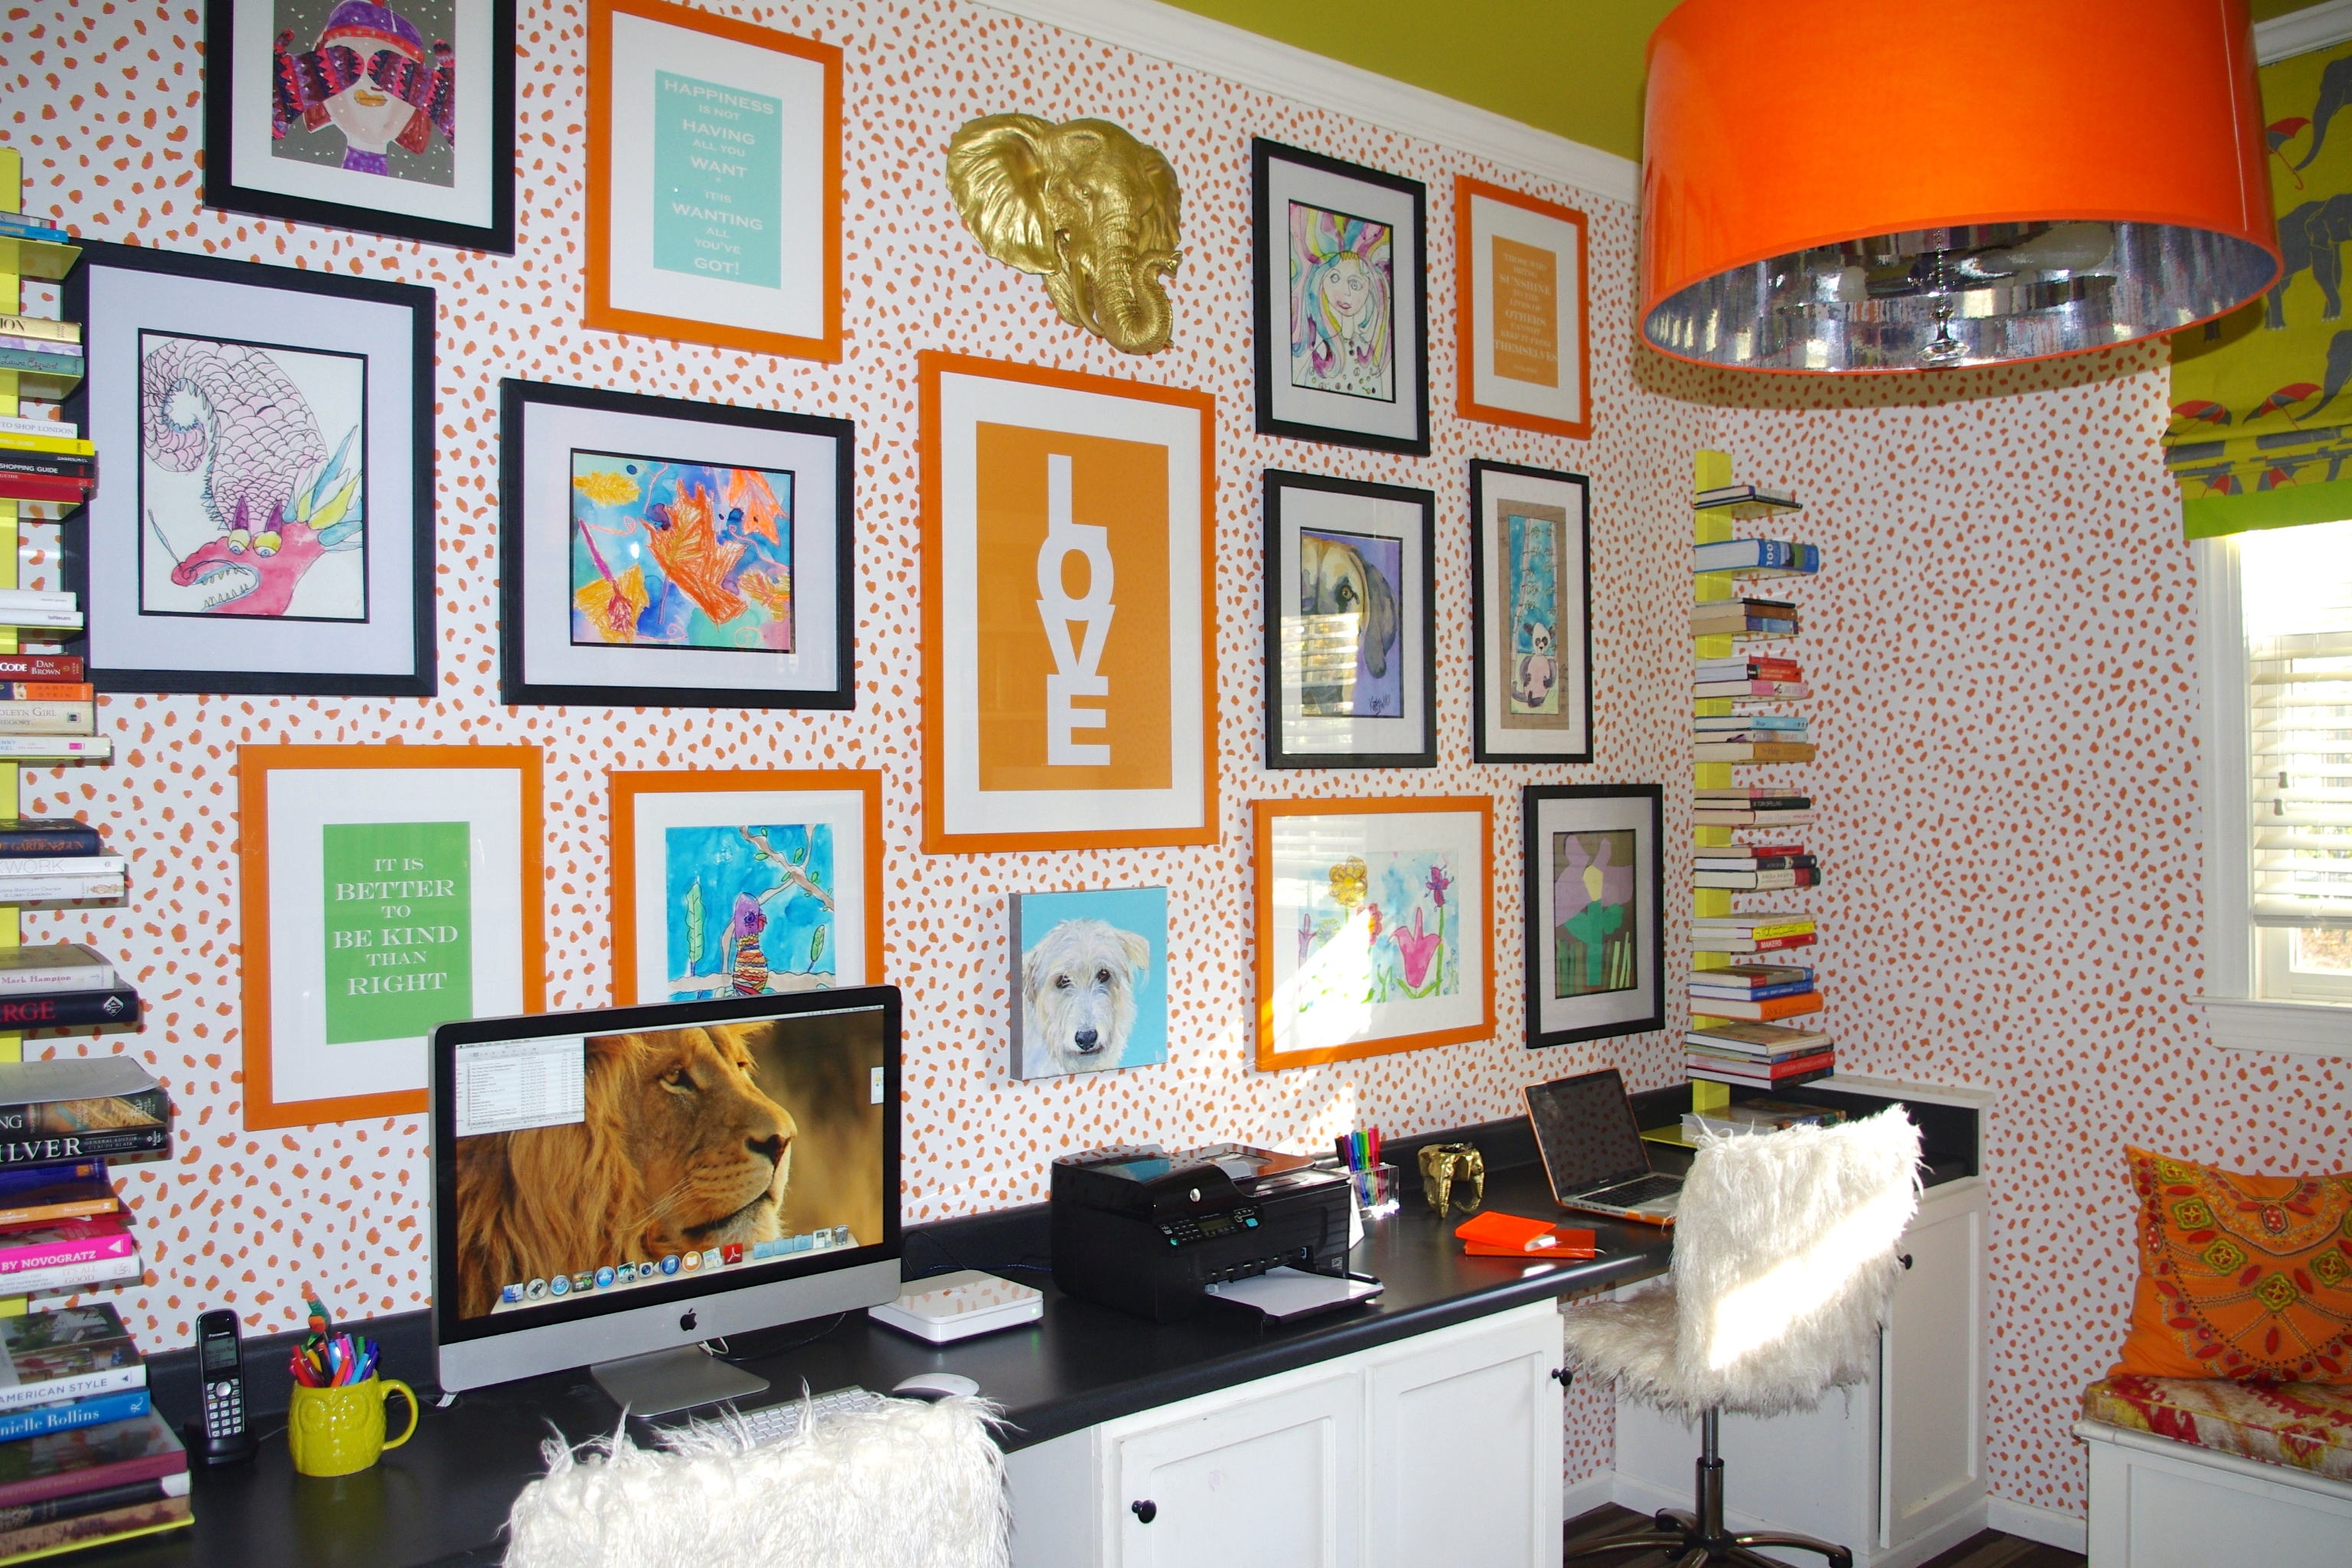
3. Art wall

I love the combination of traditional art prints, highlighting the kids' own creations and some wordy, inspiring sayings. Definitely including this watercolor print and something along the lines of this.

4. Reading nook.


Me and my love of words as art... what could be more natural than displaying those books rather than shoving them, unseen, in a bookcase?


5. Vintage industrial accents


How adorable is that red alarm clock?!  LOVE IT!


The challenge, of course, will be to make it work without being either too feminine or too masculine.  I think the "vintage" look will allow us to do that, sprinkling in a little that's girly and a little that's rough and tumble.  My goal here is to give the kids a room that they'll be able to grow in and - fingers crossed - still feel comfortable in five years from now.  

We'll see!  I'm excited about the thought of getting started on this special space for our little sweeties.  I'll keep you posted on the progress... {bearing in mind the goal is summer, don't hold your breath!}

Tuesday, December 10, 2013

Decked.

If I could explain why I'm having such a tough time writing this year...  I don't know if I'm just busy, but I find myself simultaneously missing blogging and struggling with just what I would say anyway.  It has been a wonderful season already this year, and I haven't said two words about it.

Last Christmas was such a fog to me; I have just a few vague impressions of what we did but very few actual memories.  And probably only because I wrote about it to begin with - that should teach me something!

We've been busy at our house.  Halls have been decked.  Stockings have been hung.  The Elf has been reporting to Santa. Parades have been attended.  It's such a fun time of year!  

I don't think I have any pictures from last year of the decor of our house, probably because we hadn't yet done anything and the house was still in rough shape.  So here's a little sneak peak at our Christmas mantel, which - for the first time in my holiday color-wheel - is going blue.  


TA-DA!

Alright, so I know the stockings don't quite match, but they're what we've got.  Until all our family members get here (I'm looking at you, future hypothetical children), I don't see us replacing those any time soon.


I started with a simple, store-bought greenery garland, to which I added a few embellishments.  am loving the turquoise-y and silver, so different and festive!


I bought this lovely little tree at Target, and it was originally white.  It didn't quite fit the bill, so a little spray paint and voila! 


Casey helped me hang the beads along the mantel, I love them.  It adds just a bit of traditionalism to the somewhat non-traditional design.  


On the other side, our little Ellie the Elf landed here after making her report to the Big Guy.  She's loving the mantel just as much as I am.


I liked the way it was coming together, but I felt like I had just a little too much unused space.  


A few ornament and a little string solved that problem in a hurry.  I like the height element they add, and they're attached in the ceiling with a white push-pin you can't even see.  Fab.


So, that's how we're decking our halls this year.


Even though traditional colors of red and gold still rule the living room.  Along with a few "strategically placed" ornaments to keep the kids off the tree.


As you can see, the Christmas tree has taken more of a beating than usual this year!


I changed my font at thecutestblogontheblock.com