
So here's the thing: I've already said that my first priority when we moved into this house was the little girl's room. And, although my timetable wasn't exactly realistic, we did eventually get it done(ish).
My second priority was the baby's room. (Even though it's still not remotely finished, I'm for sure standing by that story.) Now, to be fair, the room looked like this when we moved in:

And so we painted. The ceiling and mouldings are now white, and the walls are painted and decorated(ish). Oh yeah, and carpet. That was kind of important.
But, beyond that, I'm not especially happy with the way my special little guy's room is turning out. It's alright. A little cliche. But mostly, there is simply nothing that sets it apart.
So, we set out to change that. I'm a big fan of word artwork, particulary anything that states that name we so carefully selected. (Plus, when they get bigger and letters and spelling becomes a big deal, built in name-recognition practice. Score!)
I wanted something that felt very vintage and authentic, not steril and manufactured.

Ta-Da!!!
First of all, please pardon all the bad pictures. It's worth noting that pretty much this entire project was done after 11:00 at night when the kiddies were in bed...
The blue on Logan's wall is Behr's Light French Grey, so I already had that on hand. I also ran to my favorite, go-to white, Behr's Decorator White (which we also had on hand since we're re-doing the kitchen). We needed a few additional things:


Then, I attacked it with stain in random places. If I had it to do over again, I'd stain and paint the planks prior to joining them together to give it a bit more of that vintage feel, but I'm still satisfied with the outcome nonetheless.
Once the stain was dry, I covered the stained areas I wanted to remain exposed with Feed-n-Wax and painted on the white using a brush, making sure to give it a rough wipe with a cloth after painting. Ta-da! Instant age and authenticity.

Once the paint was dry, I used a projector to enlarge a printout of what I wanted on the board; in this case, Logan's name. Because I'm a self-proclaimed font snob these days, I chose Fanwood Text to get the job done. Beautiful, but not too fancy and lightly masculine.


When I finished tracing, Casey and I added the letters in paint.


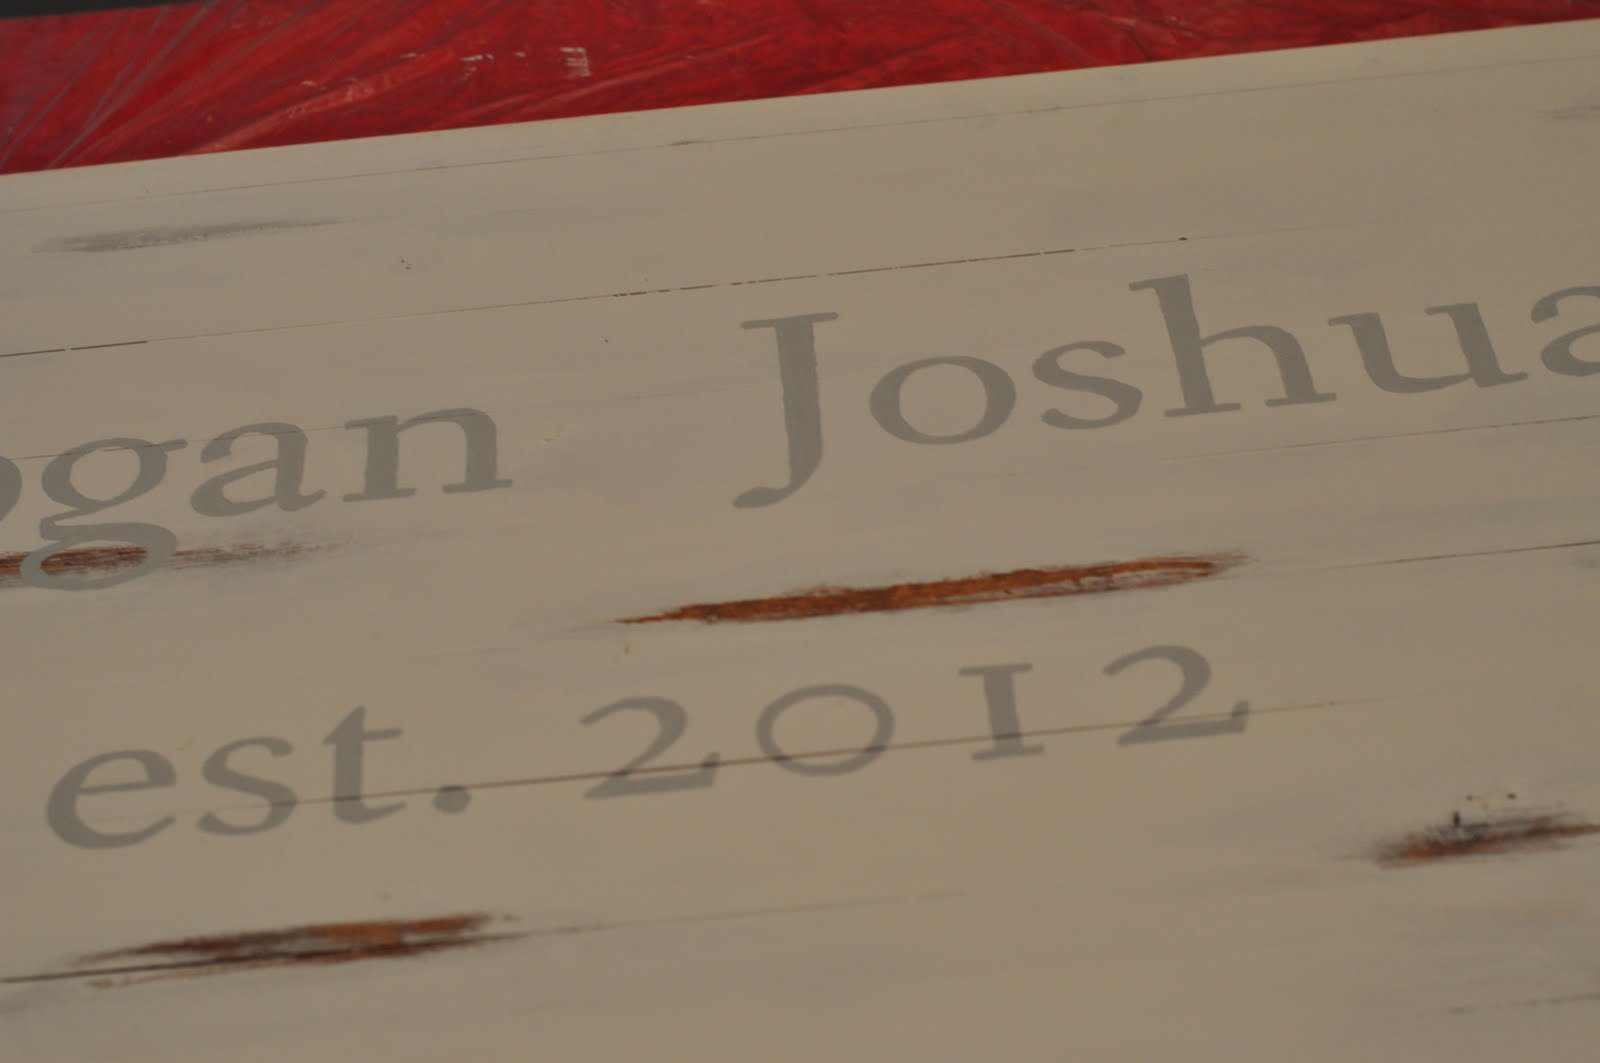

It was good, but I wasn't quite satisfied, so I went back and added a bit of interest and dimention to the letters with stain and a really tiny brush.


Next, it was time to frame it out, a job Casey took on. Once he had it framed, I went over the frame with a 50/50 mix of the two paints, hitting the grooves with a little bit of stain, and here we are:

We have a unique and special, handmade piece of art to hang above our little Logan's crib.
I will admit, for a girl who doesn't classify herself as "crafty," I'm pretty pleased with how this turned out. I think it's the coolest thing I've ever made. Besides these two cute things, of course.


No comments:
Post a Comment